How To Do Gel Nail Extensions At Home – A Complete Guide
Written by
A full gel nail extension manicure has always been part of women’s burning desire. Charming nails slightly reflect your real charisma, but not everyone is lucky enough to possess strong, beautiful nails america.
And so, I’ll give you this step by step instruction as well as some cautions on how to do gel nail extensions at home
First, you will need careful preparation to get gel nail extensions at home. Remember that all products are just worthwhile investment cause they will enormously benefit you several times. The supplies that you purchase will either make or break your success, so make sure you will choose the right ones.
Resource Gathering
1. Nail lamp
2. Acetone to erase the polish
3. Cotton pads
4. Nail polish soak off clips
5. Cuticle remover liquid
6. Nail file
7. Steel cuticle remover and cutter
8. Nail clippers
9. Cuticle clippers
10. Nail buffer block
11. Rubbing alcohol
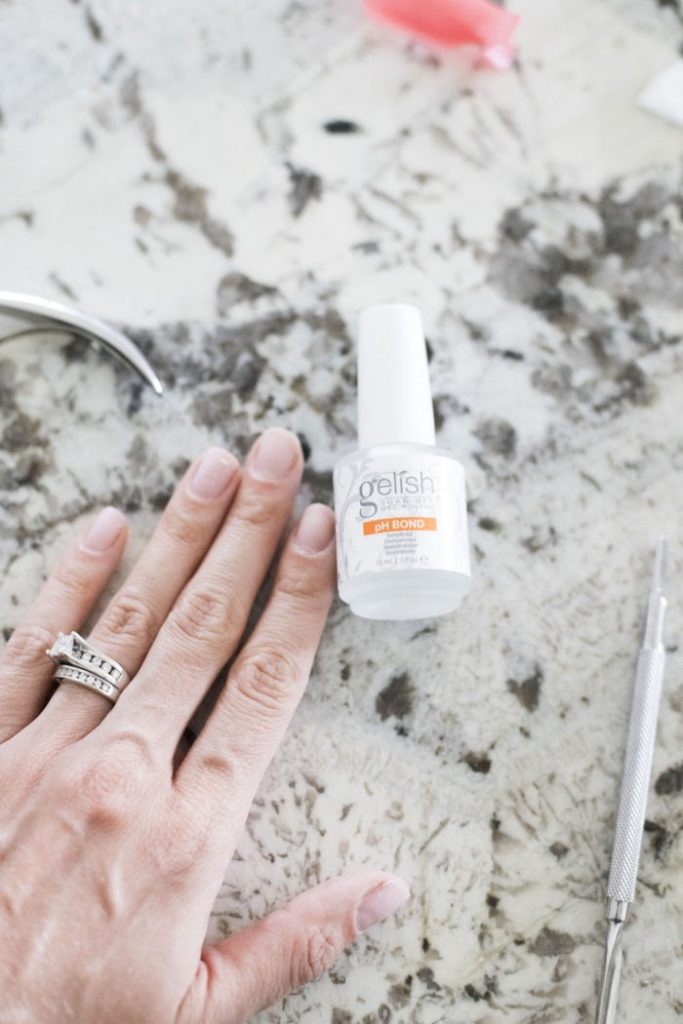
12. PH bond
13. Gel nail polish
How To Do Gel Nail Extensions At Home – A Complete Guide
Step 1:
Having gel polish on already, you need to divide the pads into 4 different pieces, and drench each of them well with acetone. Polish the top of each nail with a soft cloth, then use the cotton pads to protect your nails. After that, you can use the clips to hold it in the right position. Just keep it there for about 15 or 20 minutes. It’s time to enjoy your favorite TV shows and “let your hair down” a little bit.
Step 2:
After 15 or 20 minutes, scrap the clips and begin removing the gel polish by using the steel cuticle remover and scraper. The polish should be raised to a higher position and it should be easy to remove at this point. Use another cotton pad absorbed with acetone when removing polish.
Step 3:
You need to apply cuticle remover liquid on your finger tip and spread this liquid over cuticles while gently pressing them.
Step 4:
Use best nail scissors that are usually curved to cut your nail fingers, rub smoothly on top of your nails to remove the top layer of your nail. This step plays an essential role in making the gel to attach firmly to your nails.
Step 5:
Washing your hands carefully with water (no soap), you will also pay attention to all of the dead skin and if necessary, just exfoliate it. The nails are required to be extremely clean. You can apply some drops of the PH Bond to make your nails dry much better.
Step 6:
Spread the layer of the base coat gel polish very sparingly onto your nails then treat them with preferable heat (not that too boiling hot or heat can destroy the whole process). I remember that I wasn’t able to control the heat well and it turned out to brmatic downfall. I have learned my lessons and hope you guys can fine-tune the temperature wisely.
Step 7:
Apply another coat of gel polish (as thin as you possibly can!). After getting the polish on your skin,you will need a cloth with acetone to remove completely gel polish. If you happen to get gel polish, don’t worry, just use some toothpicks to erase the small amount of cuticles. The bottom line is to make sure that your cuticles are devoid of gel polish or they will start to peel much, much faster. Treat the polish with heat for 120 seconds to preserve it well. There is one thing I must remind you that Some lighter polish requires another 3rd layer, and if so, re-do this for about 90 seconds.
Step 8
You need some cotton pad rubbing alcohol to spread the liquid over your nail while pressing them gently. You’re done! There is no need to long for the it to dry completely and you can handle your daily chores without the fear that they will destroy your beautiful manicure
Some quick notes to doing gel nail extensions at home
- Trust me, no one is successful at doing manicures right in the first time! Practice makes perfect. Be patient and read the whole process carefully, you will start to gain valuable experience over the period of time.
- Peeling process can always happen a few times because you have misunderstood some steps, again pay meticulous attention to the whole process. Remember, I just thought I wasn’t cut for doing manicures and give up them for 3 years. I promise with you will be a truly at-home gel nail expert shortly with above-mentioned steps.
- It is very inadvisable to keep nail extensions for a long time. Let your nails unwind completely after application.
- If you used acetone to erase a previous gel polish, your cuticles are probably dried out. In this case, cuticle oil can solve this problem. But, remember to wait at least 1 minute after wiping off the sticky layer before spreading the cuticle oil. At first, I didn’t know that tip so I just applied the cuticle oil right after rubbing the tacky layer, and the top coat turns out to be a big mess
- It is inevitable that damages will sometimes occur, if so, use a drop of glue to protect your nails. I highly recommend using fresh polish to bring your nails back to their finest state
- Keep away from severe soap or toxic chemicals and moisturize your lovely nails with hand cream often. Hand cream protects your nails and prevents them from peeling off.
- DO NOT crack or peel the gel nails off.
Conclusion
A detailed guide on how to do gel nail extensions at home has been covered in this article. After all, just pay attention to what product you are using and these comprehensive steps, you can do gel nail extensions right at your home spa. Good luck! Dreamcreate
Join the discussion